Search This Blog

Thursday 18 December 2014

Christmas Crackers for the teachers


Using  a new Tonic Christmas cracker die , I decided to make a small token gift for my sons teachers at school. it started by making 2 which soon turned into 11.

I decided to use a father Christmas die for the men's and a choir girl die for the ladies.

Each cracker was cut from white American crafts textured card. Using a decorative rectangle die also from Tonic I cut detailed rectangles from both gold and silver mirror card stock.

The choir girls were cut and layered up according and the stamps provided were used to create the faces. 

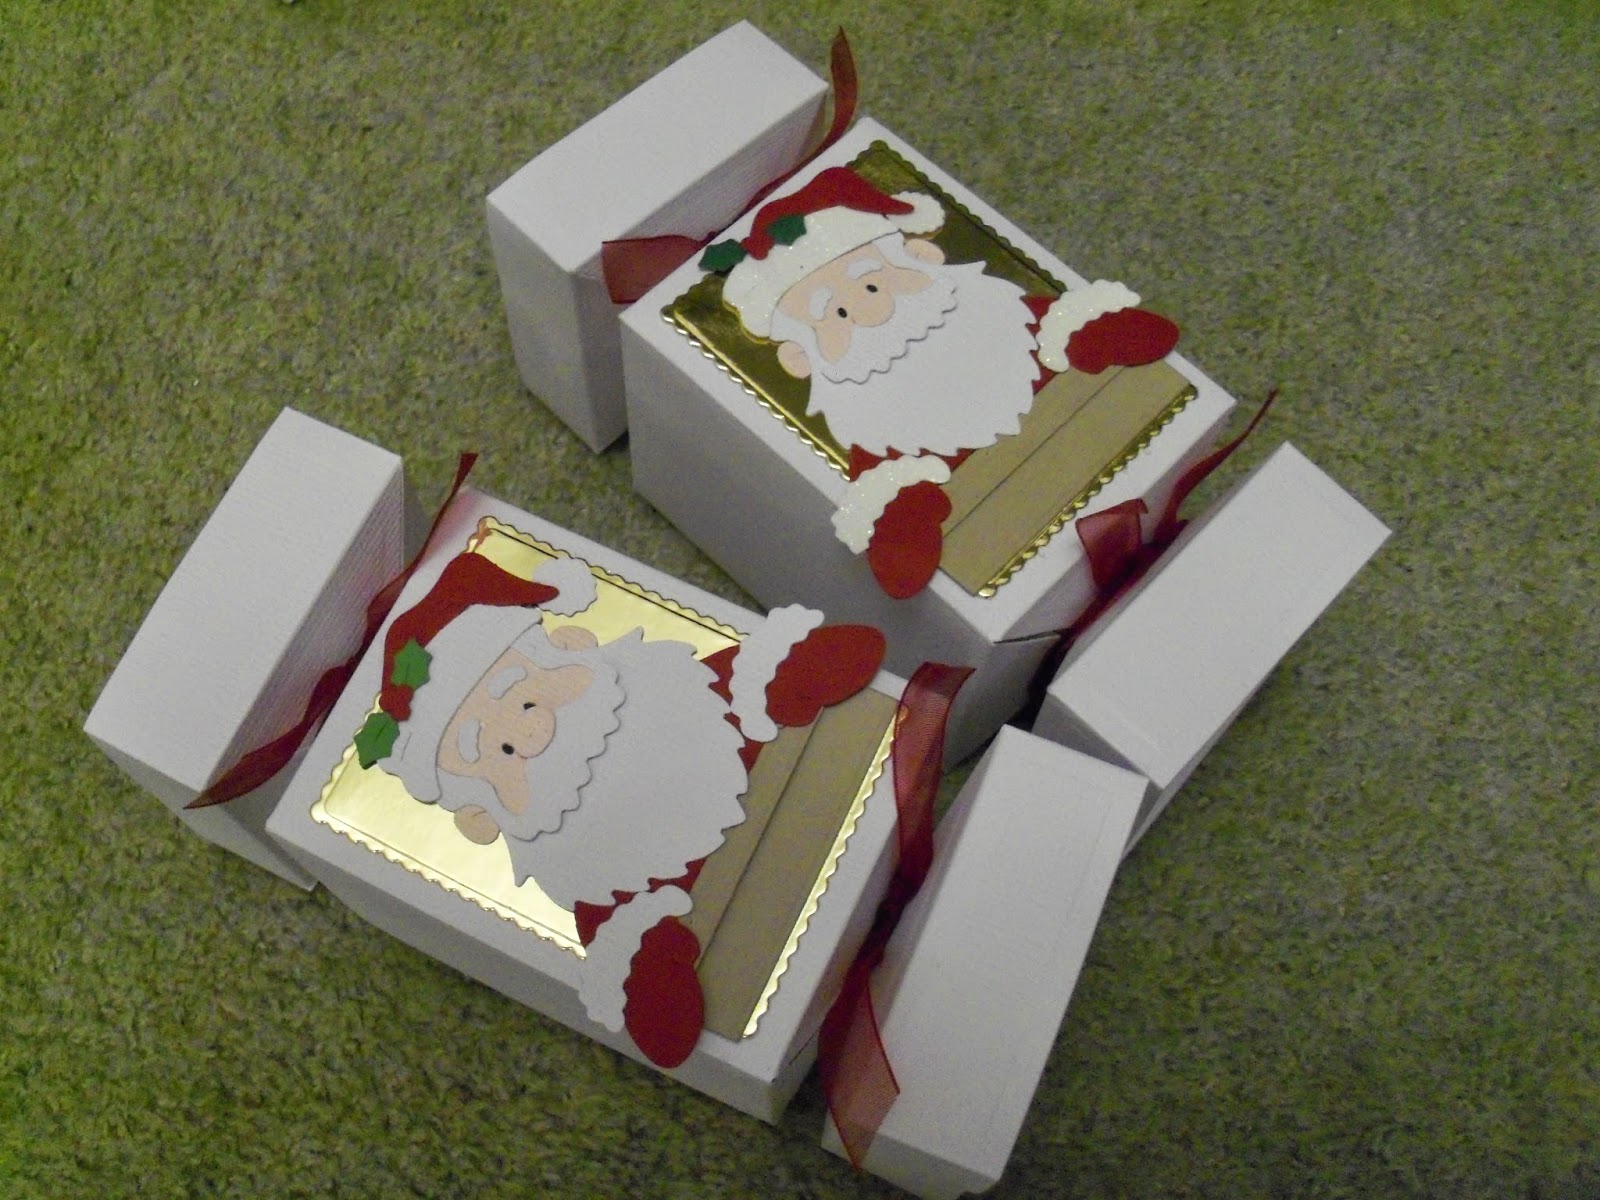
These were fixed with strong double sided tape. The crackers were filled with some sweet treats and sealed using organza ribbon. 


The men's crackers were created in the same way but using a Santa Cottage Cutz die and an added section to resemble a chimney top. These were fixed to a decorative edge rectangle cut form gold mirror card. These were filled and sealed using red Organza ribbon.


Happy Birthday wishes to my mum

A special card for my mum who celebrates being another year older - Happy Birthday Mum.

Using an image from the Joanna sheen House Mouse decoupage designs , I found the prefect image as my mum used to be personal secretary many years ago.

I printed out the decoupage sheets and layered up the cut sections using 1mm foam pads. The main decoupage section was matted onto cream and black card stock.  The backing paper was matted onto black card. Black and cream ribbon was used together secured by a diamante buckle and fixed across the backing paper section. The was matted onto plain cream card, matted on black card and fixed to the base card.

Using some alphabet stamps that I've had for years and never used, I stamped out the phrase happy birthday mum onto shrink plastic, I stamped 8 without a letter showing. All were shrunk down and fixed to the bottom of the card. the Happy line using 1mm foam pads, birthday line using 2mm foam pads and the mum line using 3mm foam pads,  trying to reflect the old typewriters keys.


A personalised Cats Christmas card


A request this month from one of my husbands colleagues, wanting a personalised Christmas card.

I was sent four photographs, and the request was to have these on the card wearing Santa hats.

I decided to use the Serif software, which I am still learning to use.

I firstly cropped and then imported the photographs into the software and layed them on a blank background sheet. I wanted to put the photographs in frames and found the ideal Polaroid photo frames in a set of four. I worked initially with just the frames and the photos and got them all aligned before adding the background papers and the baubles down the side of the card,

I found the Happy Christmas phrase and added this to the bottom of the card changing it to a white colour.

Adding Santa hats was slight more difficult as I didn't have any Christmas hats in my digital kits. I tried to import a hat but to no success. I then looked at the shapes section in the software and decided to attempt to create hats using oval shapes for the red section and then a wavy line for the white section, this seemed to work quite well as an alternative..

I was pleased with the card, as was the person requesting the card. Lets hope the recipient likes it too with presumably her favourite cats on.


Birthday Wishes to the Chef


Belated post and belated birthday wishes to Danny. A character card request for Danny the chef to celebrate his birthday.

Using Cricut Everyday dolls cartridge I cut the main figure and clothes for the main chef character.

The apron was cut  twice from blue card stock to create the additional pocket section. The white stripes were created using a white fine marker down the front of the apron.

Knifes and saucepans were cut from silver mirror card and brown card stock and layered up accordingly.

A personalised message was printed and matted onto blue card stock and fixed to the base backing card. Two photo corners were cut and attached to the top of the card.

The character was fixed in the middle of the card and the utensils fixed fixed randomly up the sides of the card.


Sunday 14 December 2014

Birthday Card for my Lovely Grumpy Husband

I thought this was a good idea for my husband when I made it but as his birthday draws closer I'm wondering how it will be received.
 
After somewhat of a challenge to obtain the Cricut Happily Ever After Cartridge, which has been discontinued By Provocraft, my work colleague successfully sourced a copy for me and the bonus was although it was second hand it hadn't been syncronised to the Cricut Gypsy device.
 
I used the main Grumpy image from the cartridge and using my Cricut Gypsy device welded the shadow letter B, from the Cricut Mickey Font cartridge in the position where the axe was on the Grumpy image.
 
I spelt out the words 'Have a Grumpy Birthday' using Mickey font cartridge on the shadow option and welded some of the letters together and cut out from black card stock.  I cut the smaller letters in normal size font in red card to fix over the shadow background. 
 
I cut out the layered sections of Grumpy and when cut removed the axe section on the base image which was welded to the B.
 
The candles were cut from matching card stock using a Sizzix thinlets die.
 
The white background was embossed using a Happy birthday embossing folder and matted onto black card and fixed to the base card.
 
Grumpy. words and candles were then fixed accordingly.
 
Lets hope my husband has a great birthday and takes the card as its intended otherwise he will be very grumpy on his birthday.
 

Tuesday 2 December 2014

A Card for an Old Bean

Time to make a birthday card for a special friend.

Using an image from House Mouse CD, I printed the decoupage image sheet. The sections were cut out and layered up using 1mm 3d foam pads. The backing paper was taken from House CD Project Book.

The main image was matted onto two brown pieces of card (light and dark brown) , the backing paper was also matted onto the same card matts. The backing section was fixed using double sided tape to an a5 sized card.

The main image was fixed using 1mm 3d foam pads.

A Happy Birthday message was stamped using Phill Martin's scribbled sentiment stamps and matted onto brown card and fixed to the top corner of the card.

To decorate, real coffee beans were used. These were first glazed using Glossy Accents. When dry they were fixed to the card using silicon glue.

Lets hope Nicky has a lovely birthday.