Search This Blog

Showing posts with label Cricut. Show all posts

Wednesday, 11 December 2019

Hunkydory - 'Do you want to build a snowman' Card

Time to make another card using the lovely die cut set from Hunkydory Moonstone selection - Do you want to build a snowman


This time I decided to use my electric die cutting machines to create a frame section with the cut message 'Happy Christmas';
- I created the white frame using my Cricut Create machine and welded the lettering to a square shape, then used my Brother Scan n Cut machine to create the two mat sections in red and green.

Note: I used the two machines because my Cricut Create only cuts to a maximum size of 5.5 inches and the card I wanted to create was 7 inches square.


I then cut the snowman and his accessories out using my manual die cutting machine, cutting two or three pieces of each item in green, red , white and brown card stock.


I glued the lettering to the frame section and created the main frame with the mats and layers and fixed this to the base card using 1mm foam tape, in order to add dimension.

I then created the main snowman feature of the card and fixed in to the centre of the aperture again using 1mm 3D foam pads.


As I advised on my previous blog post I like to add dimension and detail to my die cut pieces by layering up sections, and on this occasion I've added small white pom poms to the bobble hat. I fixed each of these cut pieces around the white frame section lifting some pieces with 1mm 3D foam pads to create more detail.
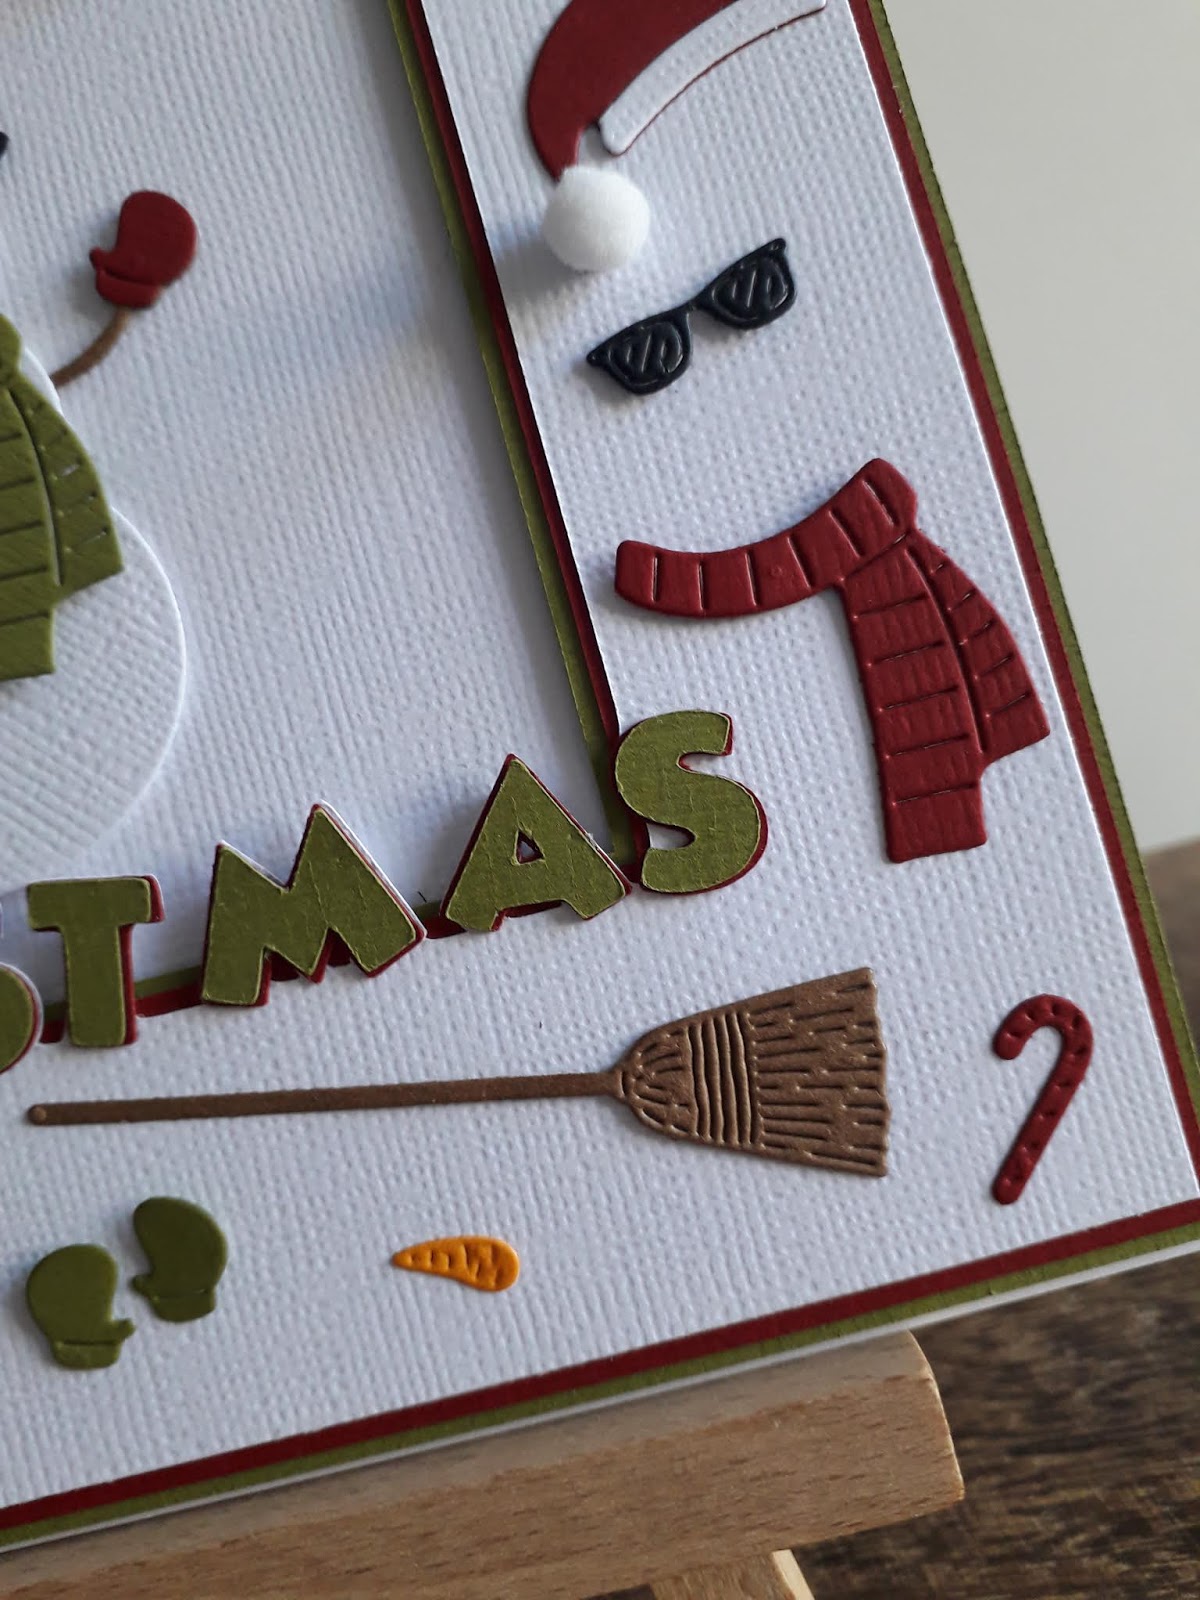


I love the final result. What do you think ?

This die set from the Moonstone range is available to purchase on the Hunkydory website - currently priced at £14.99;


Check the attached link to go direct to Hunkydory website, additional link for Hunkydory Moonstone Die sets

https://www.hunkydorycrafts.co.uk/dies-embossing/cutting-dies/moonstone-dies-by-hunkydory.html


Sunday, 14 December 2014

Birthday Card for my Lovely Grumpy Husband

I thought this was a good idea for my husband when I made it but as his birthday draws closer I'm wondering how it will be received.
 
After somewhat of a challenge to obtain the Cricut Happily Ever After Cartridge, which has been discontinued By Provocraft, my work colleague successfully sourced a copy for me and the bonus was although it was second hand it hadn't been syncronised to the Cricut Gypsy device.
 
I used the main Grumpy image from the cartridge and using my Cricut Gypsy device welded the shadow letter B, from the Cricut Mickey Font cartridge in the position where the axe was on the Grumpy image.
 
I spelt out the words 'Have a Grumpy Birthday' using Mickey font cartridge on the shadow option and welded some of the letters together and cut out from black card stock.  I cut the smaller letters in normal size font in red card to fix over the shadow background. 
 
I cut out the layered sections of Grumpy and when cut removed the axe section on the base image which was welded to the B.
 
The candles were cut from matching card stock using a Sizzix thinlets die.
 
The white background was embossed using a Happy birthday embossing folder and matted onto black card and fixed to the base card.
 
Grumpy. words and candles were then fixed accordingly.
 
Lets hope my husband has a great birthday and takes the card as its intended otherwise he will be very grumpy on his birthday.
 

Thursday, 25 September 2014

A card for Ken - Happy 50th

A card request this time from my husband for a colleague at work Ken who is celebrating a big birthday.
 
My husband was quite specific with his request, Ken is a Wolves supporter but since moving to the Watford area also supports Watford FC.
 
Two football characters were created using the Cricut Everyday dolls cartridge , dressing the figures in the current football kits for both Watford and Wolves. Being Kens 50th birthday the score had to be 5 - 0. My husband being an avid Watford FC fan, didn't take much discussion which team would be allocated the 5 and which the 0.
 
The football badges were printed both small to add to the shirts and slightly larger to create two rosettes.
 
Green card was matted on to both orange and black card stock, four footballs were die cut, and cut and fixed to each corner. A personalised message was printed and fixed to the base of the card.
 
The figures, numbers and rosettes were all fixed using double sided tape to finish.
 
Lets hope Ken has a fantastic 50th Birthday.


Monday, 9 January 2012

Football Shirt Card

Football Shirt Card

I was asked to make a specific 'football kit' card by a friend for her son's birthday to include the kit colours for the team he plays for.

I made this using my Cricut Create machine and the Cricut Gypsy. Cartridges used were Soccer and Disney - Mickey Font.

I used my Gypsy Device and selected the football shirt (from the Soccer Cartridge) and hid all the detail cut so I had a basic shirt shape, I then welded the shirt, boot (shadow feature) and ball (shadow). I positioned the name and numbers within the shirt, the font taken from Disney - Mickey Font. The shirt was cut at size 5inches high, the ball 1.35 inches and boot 1 inch high. This was cut out using the main football shirt colour.

I also cut in a contrast colour the name and number again to insert in the main shirt once main cut completed. The name font was approx 1 inch high and the number 1.5 inches high.
I  cut the shirt again in the blue bazzill card stock to add the sleeve detail.

I cut 2 further boot shadows in white Bazzill card stock.

I cut the ball (detailed cut) and two boot (detailed cut) in bazzill black card stock. I attached the boots and football detail cuts over the relevant shadows.

The 2nd Boot was fixed on main shirt using 3d foam.

The banner was created using a Sizzix banner die, the greeting printed out on computer first and then cut from the die, two further banners were cut to create a shadow effect.

I have since used this template twice more for other people in other teams colours.