Search This Blog

Sunday 11 October 2015

A Goofy of a fold

I purchased a second hand book and a book folding pattern and a ruler and pencil and started following the pattern for the word Disney.  I completed most of the book folding over 4 evenings whilst in front of  the television. 

I started decorating the cover of the book with cream and green card stock. I covered the inside pages with black card stock, next to where the word started and ended to make the word stand out more.

 I attached two pieces of ribbon joined together with a diamonte buckle and fixed this across the book and attached the end to both the front and back covers of the book .

 I mat and layered card on the both front and back of the outside of the book and the spine. I cut 8 photo corners and fixed these on the outside of the book. 

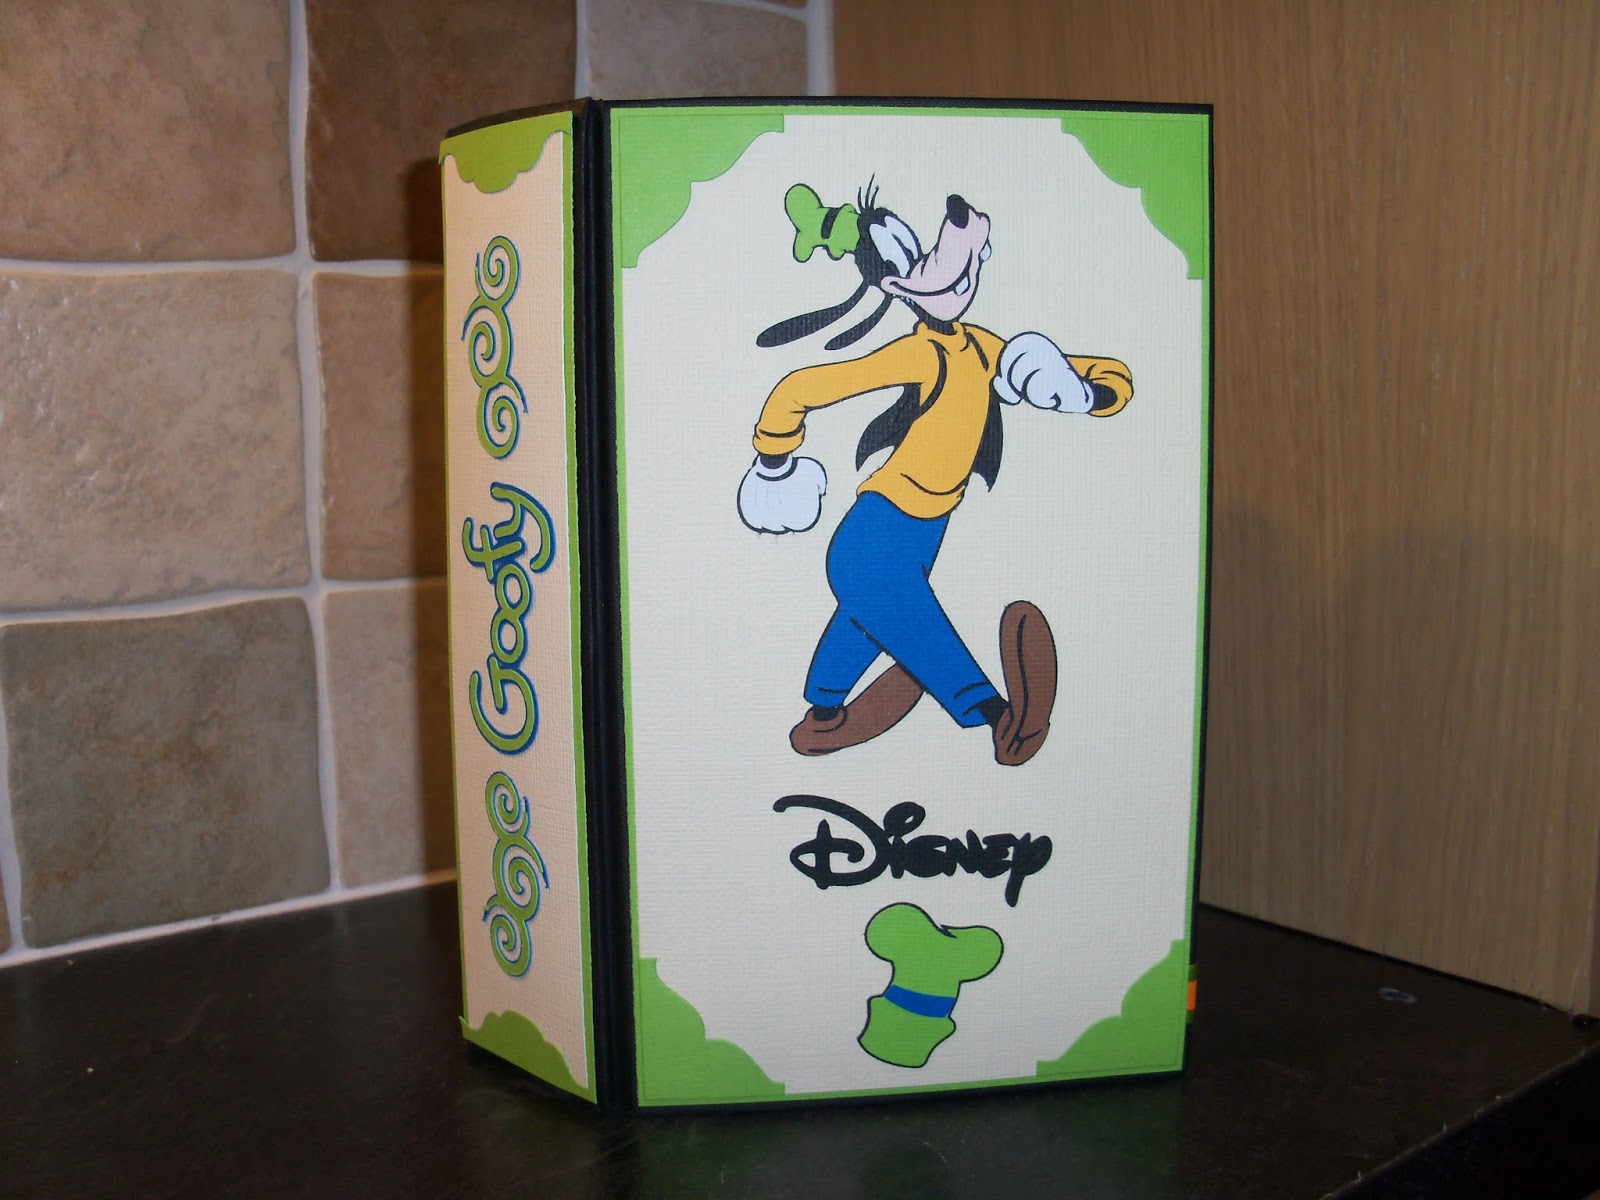
To finish decorating I cut icons of Goofys hat and a swirl  shape using the orange, blue, green and black card stock, the designs were taken from Cricut Mickey & Friends cartridge. 

An image of Goofy was cut out from the same Cricut cartridge and layered up according and attached to the front cover of the book with the word Disney cut in black card stock and a Goofy hat added to the bottom. 

The back of the book again was decorated with a Goofy image that was created on the the Cricut Gypsy machine adding a board for Goofy to be leaning over , again the word Disney was cut and attached to the board. 

Using my Cricut Gypsy and Mickey and Friends cartridge I  cut the word Goofy and cut out two swirl patterns to add to the spine of the book. 


Saturday 3 October 2015

Mr & Mrs Book Folding

Time to create another book folding project. 

I purchased a second hand book and a book folding pattern and a ruler and pencil and started following the pattern for the word Mr & Mrs.  I completed most of the book folding over 2 evenings whilst in front of  the television. 

 I started decorating the cover of the book with cream and navy card stock. I covered the inside page next to where the word started and ended to make the word stand out more. I attached two pieces of ribbon joined together with a diamonte buckle and fixed this across the book and attached the end to both the front and back covers of the book .
 I mat and layered card on the both front and back of the outside of the book and the spine. I cut 8 photo corners and fixed these on the outside of the book. 

I printed a message out stating the happy couple name , date of wedding and a phrase and mat and layered this onto navy card and fixed to the front cover of the book.
 A personalised tag was printed and cut into a circle and matted onto a scalloped circle . Ribbon was attached to the tag and decorated with a heart shape embellishment. . 

To finish decorating I cut hearts from navy card stock and buttons out of cream card the two were fixed together with organza ribbon tied at the front. The hearts where fixed both inside and on both outside covers of the book.
Using my Cricut Gypsy and Gypsy font cartridge I created the word s Love and Marriage and welded the letters together before cutting to go on the spine of the book.
Finally the book was wrapped in clear cellaphane and finshed of with the personalised tag.